

 -We cut the vinyl for you!
Car Wrap Vinyl: Transform Your Car with Vinyl Wraps!
Our self-adhesive car wrap vinyl is made for wrapping vehicles but can also be used to cover vans, trucks, bikes, and even machinery.
This vinyl wrap is of good quality and gives added protection to your paintwork.
It also allows you to give your vehicle a new look with a range of finishes and textures to choose from.
Choose between
High-Quality Car Wrap Vinyl for a New Look and Lasting Protection
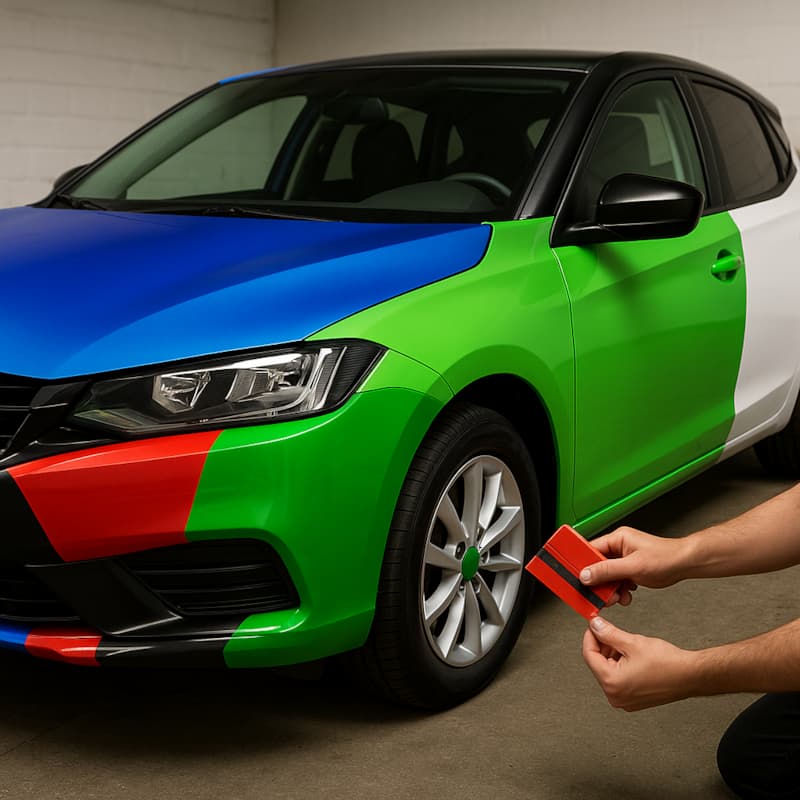
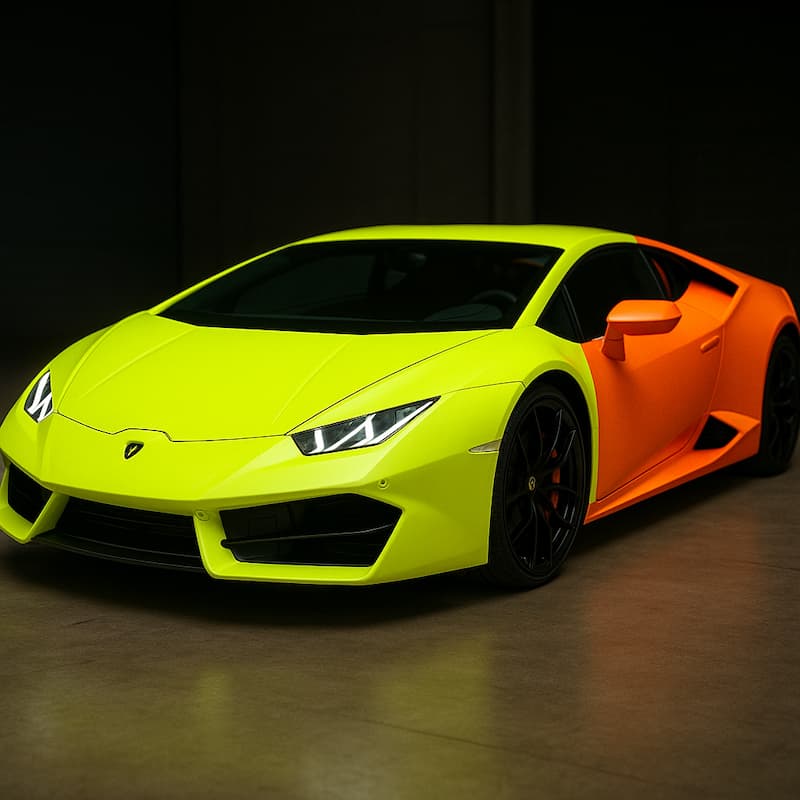
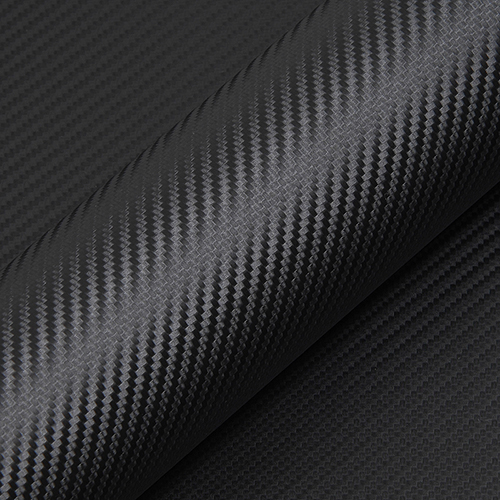
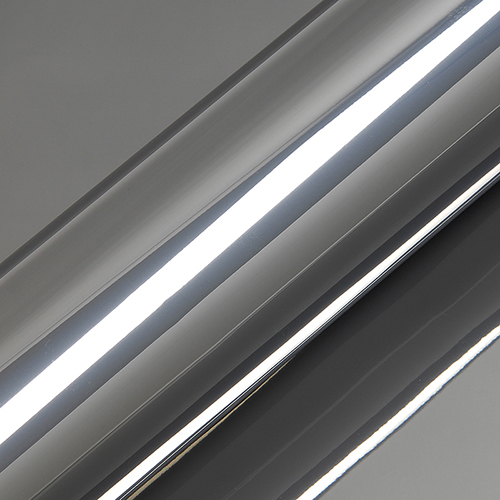
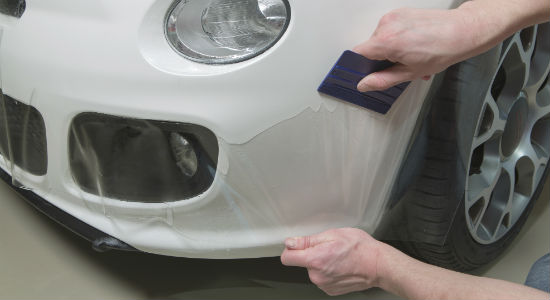
With car wrap vinyl, you get an easy and effective way to transform your car without having to repaint it. Our vinyl is designed to protect your car’s paint from minor scratches, stone chips, and dirt, while also giving your vehicle a completely new look. The vinyl is flexible and can be heated so it fits even the most curved surfaces and details on the car. You can choose from many different colours and finishes – for example matte, gloss, metallic, or carbon – depending on the style you want. Car wrap is also a good solution if you want to try a new look for a while, as the vinyl can be removed again without damaging the paint.Pros and cons of using a vinyl wrap on your car
Pros:
- Protection: A vinyl wrap adds a layer of safety for your car's paintwork, helping to prevent scratches, chips, and fading from UV rays.
- Personalization: Vinyl wraps come in many colors, patterns, textures, and finishes that can completely change the look of your vehicle.
- Durability: Good quality vinyl wraps hold up well and can stand up to different weather conditions without fading or peeling.
- Cost-effective: Wrapping your car is often a cheaper option compared to getting a new paint job.
Cons:
- Removal process: While putting on a vinyl wrap is relatively fast and simple, taking it off can take time and might need professional help to keep the paint safely underneath.
- Limited lifespan: Even when taken care of, vinyl wraps do not last as long as a traditional paint job.
In the end, choosing a vinyl wrap for your car depends on your personal taste and needs. It is important to weigh the benefits against the downsides before making a decision.
FAQ about Car Wrap Vinyl
- Can I wrap my car in car wrapping film?
- Can I remove the vinyl if it’s not right the first time?
- What does dry apply mean?
- Where can I use taxi/wrapping film?
- What tools do I need to install car wrap vinyl?
- How long does it take to wrap a car?
- How do I maintain my car wrapping?
- How long does it take to wrap a car?
- How many meters of wrapping film do I need for my car?
- How do you measure a car to calculate the amount of wrap needed?
- How do I remove vehicle wrap film from my car?

Can I wrap my car in car wrapping film?
Yes, you can, but it takes a bit of patience.Wrapping film—also called taxi film or car wrap vinyl—is made for wrapping cars, but you can use it for many other things too.
The vinyl is designed for dry application and has air channels in the adhesive, which makes it good for wrapping all sorts of surfaces.
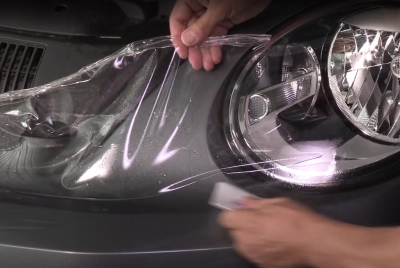
You shape the film by heating it with a heat gun and stretching it over curves so it fits the shape of your car.
If you stretch the vinyl too much, just heat it up again and it’ll shrink back to its original form so you can try again.
Just be careful not to overstretch the film, as it can get too thin and tear.
Can I remove the vinyl if it’s not right the first time?
Yes, you can.Because of the air channels in the adhesive, the car wrap isn’t permanently stuck right away. You can easily peel it off and reposition it.
Once you’re happy with the placement, heat the vinyl (up to 80°C) to make the adhesive permanent and lock in the new shape.
What does dry apply mean?
The film has channels in the adhesive, which are made with small air channels in the adhesive itself. This makes it easy to remove any air bubbles that might form when you install the film. Because of these small channels, you MUST NOT install the film with soapy water, as the water will then be "trapped" in the air channels.Where can I use taxi/wrapping film?
You can use car wrap vinyl for loads of customisation projects.You can wrap your whole car, just the wing mirrors, or even your fridge or kitchen cupboards.
It also works on laptops or bikes.
It’s really up to your imagination.
What tools do I need to install car wrap vinyl?
The basics are a utility knife, a tape measure, and a squeegee.We include a squeegee with the vinyl, but for bigger jobs, it’s a good idea to get a felt-edged squeegee so you don’t scratch the wrap during installation.
A heat gun is essential for working the vinyl into recesses and over curved surfaces, and for post-heating the film once you’re done.
Knifeless Pro Tape is handy if you want to avoid cutting the vinyl with a blade and risking scratches on your paintwork.
Check our webshop for the tools and accessories you can get for car wrapping.
How long does it take to wrap a car?
If you install and remove the car wrap or ppf properly, it shouldn’t damage your paint or windows.Most damage happens if you use a knife and cut too deep during installation.
You can avoid this by using knifeless tape, which lets you cut the vinyl without touching the paint.
How do I maintain my car wrapping?
To make your car wrap last longer, wash your car regularly with a soft sponge or cloth and mild soapy water. Avoid pressure washers and harsh chemicals, as they can damage the vinyl and the ppf.How long does it take to wrap a car?
Wrapping a car takes anywhere from 1 to 3 days, depending on the size of the vehicle and how complicated the job is.How many meters of wrapping film do I need for my car?
Work out how much car wrap vinyl you need by measuring your car.Use the total surface area and add a bit extra to make sure you have enough wrap for the job. Always follow the manufacturer’s recommendations for coverage.
How do you measure a car to calculate the amount of wrap needed?
uring your car for a vinyl wrap takes careful planning and accurate measurements. Here’s a step-by-step guide:Preparation:
Park your car somewhere with enough space to move around it. Make sure it’s clean and dry, as dirt or moisture can affect your measurements.
Materials and tools:
Use a flexible tape measure, and have paper and a pen handy for notes. Having someone to help can make it easier to measure and keep the tape straight.
Start with the big panels:
Measure the length and width of each panel—bonnet, roof, doors, and rear. Don’t forget the height of the car.
Curved areas:
For curved parts like bumpers and corners, take extra measurements and allow for the shape.
Doors and panels:
Measure each door separately and note any recesses or raised areas. For complex shapes, break them into smaller sections and measure each one.
Mirrors and windows:
Don’t forget to measure around mirrors and windows, as these will also need vinyl.
Overlap and waste:
Add a bit of extra vinyl for overlap and any waste during installation.
Record your measurements:
Write everything down and use your notes to calculate the total amount of wrap you’ll need.
Check the manufacturer’s guidelines:
Most vinyl brands give advice on how much wrap you’ll need for different car sizes.
Professional advice:
If you’re unsure, it’s a good idea to ask a professional car wrapper for advice or an exact measurement.
It’s always better to have a bit too much vinyl than not enough, as it can be hard to match colours and batches if you run out. Consider using PPF (Paint Protection Film) for additional protection and durability.
How do I remove vehicle wrap film from my car?
Can I remove the film myself?
Yes, most people can remove wrap film themselves if they work calmly and step by step. This applies to Hexis film and other brands. If the film is very old or the car has been repainted, a professional shop may be a good choice.
What do I need?
- Heat gun, hair dryer, steamer or warm sunlight
- Plastic scraper or plastic "razor blade"
- Cleaning agent and microfiber cloths
- Adhesive remover
- Optional gloves and safety glasses
Step-by-step: How to remove the film
- Wash the car first
Remove dirt and sand to avoid scratching the paint. - Work in shelter and above freezing
Film releases best when warm. Cold temperatures make the job harder. - Heat a small area at a time
Use a heat gun/hair dryer on low to medium heat and keep it moving. The film should be warm and flexible, not overheated. Best around 60 degrees. - Lift a corner carefully
Start at an edge. Lift the film with a fingernail or plastic scraper — avoid metal tools on paint. - Pull at a low angle
Pull the film back slowly at a low angle (about 30–45°). Apply more heat if it starts breaking. - Work section by section
Move around the car in small sections. Primer may have been used on edges, leaving more adhesive.
What should you pay attention to?
- Repainted cars: Test a small area first.
- Very old film: May crack and require more heat.
- Plastic parts: More sensitive to heat, warm carefully.
What should you avoid?
- Metal scrapers, knives or blades on paint
- Strong solvents like gasoline, acetone or thinner
- Holding the heat gun in one spot too long
How do I remove adhesive residue?
- Choose a suitable adhesive remover
Citrus- or IPA-based products and dedicated film/label removers work well. - Apply and let it work
Spray or apply the product and let it sit for one to two minutes. - Work with cloth or plastic scraper
Gently remove softened adhesive. Repeat if needed. - Finish with washing and wax
Clean the area, dry it and apply wax if desired.